All items (apart from the cost of the facility hire itself) purchased using this form are recorded under the name/account of Player Number 1. If other players are making a purchase at the same time as the booking you should enter those purchases separately under the POS Menu.
If any one of the players is a casual, Credit Policy as it applies to Casuals will apply to the sale.
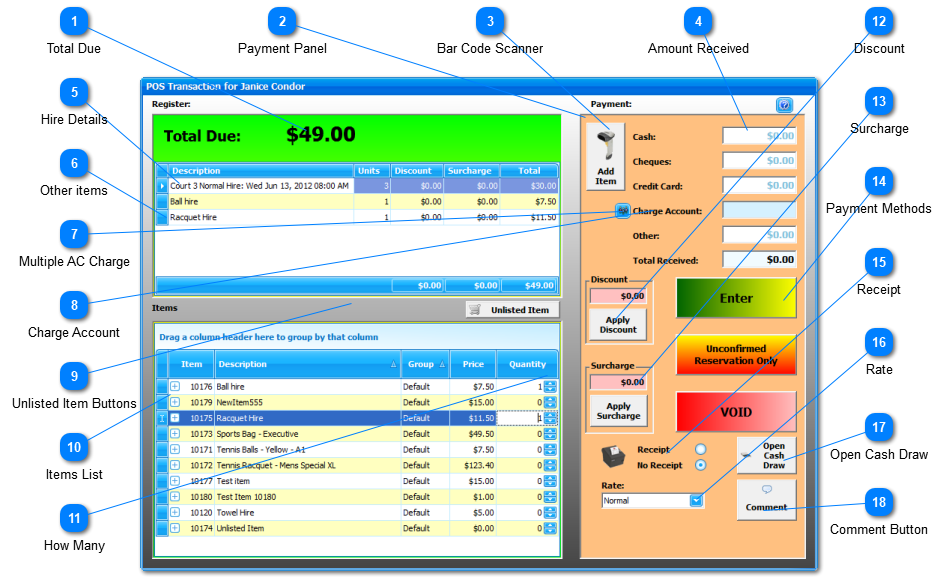
Total Due
This is the Total Amount due from your client as calculated by MyCourts and taking into account the Credit Policy you have set in MCA.
The amount is recalculated when you add an item to the sale by clicking on the button in the "Enter" column.
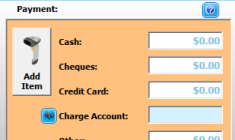
The Payment Panel is used to group all the required information when recording the sale.
If you are not recording a sale related to a specific booking, you are able to record the sale in the name of a member by choosing the appropriate member from the dropdown selector as in the following image:
If you have entered a court booking, the facility details, amount due for the hire etc will be calculated and entered for you. If the booking covers both Peak and Non-Peak periods, the individual fees will be displayed.
You can also edit the Description of the item which will be saved when recording the sale.
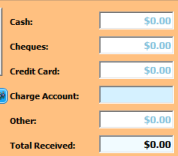
Enter the amount that you wish to charge to the members account here.
If the member does not have an account, this text box will be grayed out (as in this screen capture). You can still click on the Multiple AC Charge button if you wish to charge another account.
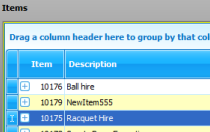
The list of items, sorted alphabetically that you have configured for sale.
You can scroll through the list or use the list's column's names to either resort the list or filter it. You can also enable the option of grouping the list of items if you have grouped them in the Accounting - Stock Control section..
If you have enabled Staff to give discounts in Credit Policy then the POS Window will display a box where you can enter the amount of any discount you will give as well as a button that you will need to click to apply the discount to the sale.
If you wish to apply a discount for any item first select the item in the Register window , then enter the amount in the Discount box and click the Apply Discount button.
To adjust the amount of discount, enter the amount of the adjustment and then click the 'Apply Discount' button.
If you wish to charge a Surcharge for any item first select the item in the Register window , then enter the amount in the Surcharge box and click the Apply Surcharge button.
To adjust the amount of surcharge, enter the amount of the adjustment and then click the 'Apply Surcharge' button.
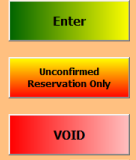
The Enter and Void buttons will always be available to you. The 'Unconfirmed Reservation Only' button may not be visible if you do not accept unpaid bookings (See Credit Policy).
You may chose to print a receipt for this transaction or not.
A receipt will be printed to the default printer automatically. If you have both a Receipt Printer and a normal printer, the Receipt Printer will be used. If printing a receipt for multiple bookings you will also be given the opportunity of printing the receipt to the default printer as the receipt will contain more detail.
The choice as to the default setting of this radio button is configured in the MCA POS General window.
The rate applicable to this member or sale will be shown here. You may select a different rate and the hire charges will be recalculated using the selected rate.